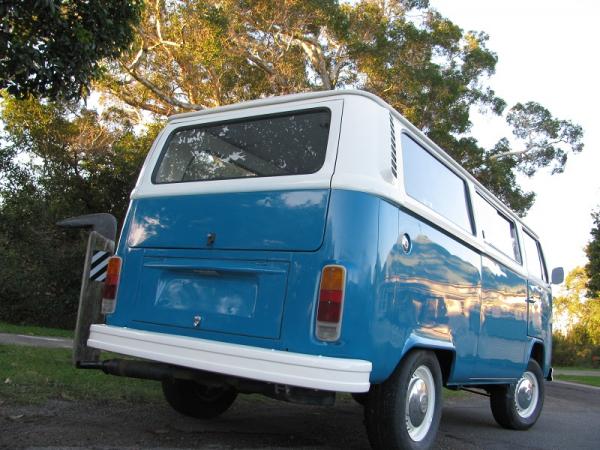
Transforming a beatup 1974 VW Microbus into Ariel, the turquoise mermaid
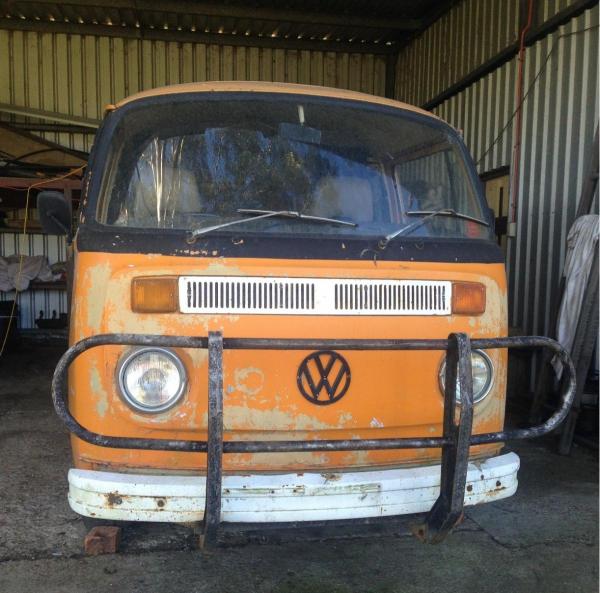
Originally we referred to this kombi as "The Honey Badger". It just seemed to have that kind of "I don't give a crap" kind of attitude. His undercarraige was loaded with bucket loads of mud from the unsealed roads around Bulahdelah. He had a few scars and some wounds that had been covered with a generous helping of bog and lashings of house paint. As usual the quarter windows were rusted out, but overall, his body was straight, and his bones looked pretty solid and free from rust. Purchase price $1500 - no motor included.
While the engine bay was empty we got stuck into the battery trays and drained the fuel tank.This is one of the hardest areas to clean and gurney. I have never enjoyed the task of removing the black tar that is used to seal the welds which has cracked and shrunk over time.
Worse still is the process of cleaning years of caked on grease and road grime. Every surface needs to be rubbed back and prepared before finally applying fresh seam sealer and a few coats of 2pac. Nice! Thankfully my mechanic had just finished rebuilding a solid 2 Litre engine that would marry up to the existing gearbox, so now we have a running Kombi with a nice clean engine bay.

A few other details needed to be sorted out like new ball joints on both sides, new brake calipers, starter motor, CV joints and some electrical issues that had our VW specialist scratching their heads for a week! The engine was running pretty rough at first, but the boys from Nymeyer were right across it and soon had our kombi purring like a kitten.

The front nose of our kombi also needed serious attention, as we discovered a minor crack that revealed a frontal impact that had been repaired with INCHES of bog. The workshop was filled with dust and rust as the grinders set to work. The more you grind the more you find, and the Honey Badger was no exception. The A-pillar (next to the windscreen) needed a cut here and a weld there, and the doglegs needed some attention as well. I'll admit that by the time we had addressed all the damage and rust affected areas, there wasn't too much of the original colour left behind.
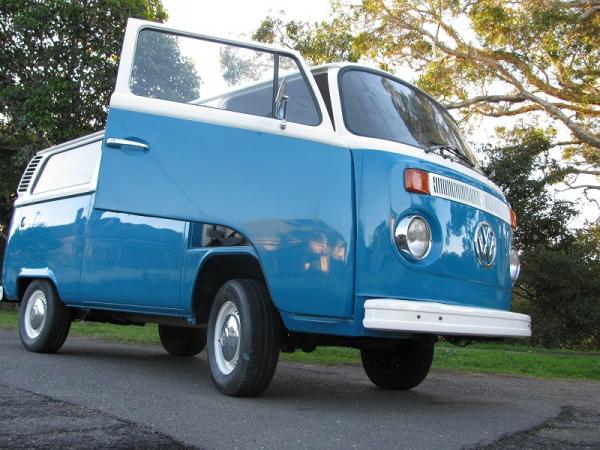
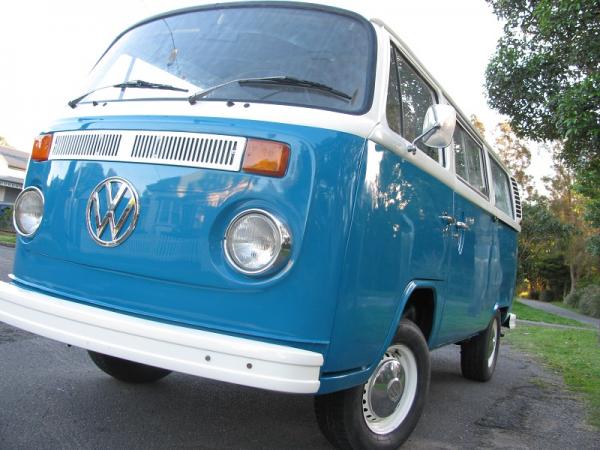
In fact, by the time the primer and undercoat had been applied, our kombi looked nothing like the original Honey Badger. This is when Louise paid us a small deposit and asked if we wouldn't mind painting him turquoise - just like a lowlight project we finished 1 year ago called the Eagle. Hmmm, another name change might be needed... How about Ariel? As soon as we applied the first coats of paint, the name stuck.
As far as the interior goes, we had to sand and prepare every inch of the inside cabin, before the roof supports and window areas could be primed, undercoated and finished in the off white 2pac. We do this to brighten up the interior and to create more 'space'. This is offset with a flecked grey marine carpet that still brightens the interior and allows anyone with a spiked hairdo to wreak havoc on the roof. Some new interior lights and we are almost done...

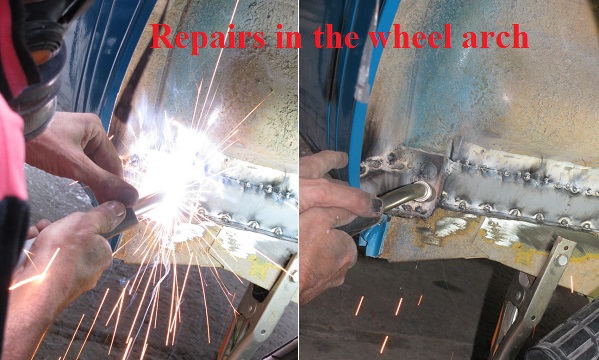
Even when we thought the worst was over, my panel beater kept finding areas that had been hidden by years of caked on mud! There is always a hidden easter egg that will make you go back and do more repairs - like inside the wheel arches, and under the front seatbelt mounts. The inside floor pan was stripped back to bare metal, new seam sealer applied in the corners, and a layer of stone guard applied to protect from further damage.
I believe we spent at least $2000 on new rubbers, fittings and parts to help the brand new paint job really stand out. As an 8 seater microbus, we didn't even have time to get the seats recovered on this project, but the new owners have already started that process. We have fitted a brand new ADR (Australian Design Rule) compliant rock n roll bed in the rear. We'll add new seatbelts and the all important brackets to lift the seat belts above shoulder height....
I hope the new owners like her as much as we do!
Join our Facebook Page to receive exclusive updates & discounts!
Recent blog posts
- Sunny - 1975 VW Kombi Microbus by Righteous Kombis
- How much is a Kombi Worth? The value of a pre-purchase inspection.
- How do I Turn a 2 Seater VW Kombi into a 5 Seater
- Transforming a beatup 1974 VW Microbus into Ariel, the turquoise mermaid
- Restoring a 1972 Deluxe VW Kombi Microbus - Sprout
- How to Restore an 1971 Ex Army VW Kombi Lowlight - Earl
- A Day on the Green with Orange Crush
- Do VW Kombis really catch fire and why?
- Orange Crush - A 79 Camper restoration
- Ruby - The 1971 Ex Army VW Kombi Lowlight